


The moment a network goes down, most people do the same thing — they panic and start randomly unplugging cables, restarting everything in sight, or calling someone who “knows computers.” But that instinct is exactly what makes network problems take longer to fix. Before anything else, knowing what is the first step in troubleshooting a network problem saves time, prevents wasted effort, and gets you to the real fix faster.
Here’s the thing — the first step isn’t rebooting your router. It isn’t running a ping test. Before you start troubleshooting any issue, you need a clear understanding of what the problem is, how it arose, who it’s affecting, and how long it’s been going on. That’s the foundation every competent IT professional works from in 2026.
Identify and Define the Problem First
Before diving in, establish exactly what’s not working. Ask targeted questions to determine scope and symptoms: Is it one device or many? A single-user issue often points to a local configuration or hardware fault, whereas multiple affected devices suggest a broader network event.
This one question — “how many devices are affected?” — immediately splits the problem into two completely different categories. One device acting up means you’re dealing with something local: a bad driver, a misconfigured IP, a faulty NIC. Every device on the floor going dark means you’re looking at a switch, router, ISP, or infrastructure problem.
What’s the failure mode? No power, no Wi-Fi, slow throughput, or intermittent drops? Take notes — precise symptom descriptions will guide your subsequent tests and avoid wasted time chasing red herrings.
Document what you observe. Write it down or type it fast — “no internet on all machines since 2:15 PM, Wi-Fi shows connected, DNS not resolving.” That single note rules out half the possible causes before you’ve touched a single cable.
What the Research Shows
No matter the scenario, the basic network troubleshooting framework starts with a comprehensive assessment — documenting the symptoms, identifying affected systems, and determining the scope and impact of the network issue.
IT professionals and network engineers who consistently resolve problems faster than average share one habit: they resist the urge to “just try something” without first gathering data. Anyone who has managed enterprise networks knows that random fix attempts without understanding the problem first often introduce new issues while leaving the original one untouched. The pattern is consistent — methodical problem identification beats instinct every time.
Why Skipping This Step Costs More Time
Begin by cataloging the symptoms of the problem — but be aware that the symptoms are not the problem. Further investigate by interviewing the user that witnessed the issue, asking them to recreate the issue if possible. Ask: what has changed? What issues are characterized by these symptoms?
That last question — “what has changed?” — is one of the most underrated diagnostic tools in networking. The root cause of most common problems can be traced directly to recent changes. Check change management logs for recent updates or configuration modifications.
A new software update rolled out at 2:00 PM? Network started dropping at 2:15 PM? That’s not a coincidence — that’s a lead.
Troubleshooting a Network Problem: The Full Step Sequence
Once the first step — problem identification — is done properly, the process that follows is structured and logical.
Step 1 — Identify scope and symptoms (the first step in troubleshooting a network problem — the one this entire article is about)
Step 2 — Check physical hardware. Verifying interface status is generally the first practical action after identifying the problem. Even at home, it’s easy to check — is the router’s “internet light” red or green?
Step 3 — Verify IP configuration. Use the ipconfig command on Windows to confirm that your computer has received a valid IP address from the DHCP server. An invalid IP will begin with the numbers 169 and can prevent network access.
Step 4 — Run a ping test. Send a ping to both your local router and external websites to identify potential connectivity issues within your local network or to the internet.
Step 5 — Check dependencies. A failing DNS server will affect web browsing. DHCP server downtime will prevent new network connections. Map the dependency chain to isolate where the problem originates — versus where symptoms appear.
Step 6 — Analyze and fix. Build a targeted fix based on what the data shows — not what you assume.
Troubleshooting for Different Users
Home users often skip straight to rebooting the router, which clears temporary issues but misses anything structural. Starting with scope identification — “is my neighbour’s Wi-Fi also down?” — tells you immediately whether this is your hardware or your ISP.
Small business users need to add one extra question: “which services specifically stopped working?” Email down but internal file sharing fine usually points to DNS or firewall rules, not a network outage.
Enterprise IT professionals deal with change management logs, SNMP alerts, and monitoring dashboards — but the discipline of scope-first diagnosis remains identical. Network troubleshooting is the systematic process of identifying and fixing issues within computer networks — and consistent uptime usually comes from following a clear, structured troubleshooting process.
Linux/Mac users run ifconfig instead of ipconfig, but the underlying logic — verify IP assignment, check gateway reachability — is exactly the same across operating systems.
Common Mistakes People Make at Step One
Most network troubleshooting failures happen because the first step is skipped, not because the later steps are wrong. Here’s what goes wrong:
- Restarting everything blindly without noting what changed
- Assuming the issue is ISP-related without checking local hardware first
- Fixing the wrong device because the affected scope wasn’t properly defined
- Not asking users what they were doing when the problem started
- Ignoring timing — a problem that started exactly when a Windows update ran is almost never a coincidence
Establishing a baseline, defining scope, and using layered troubleshooting is the core of a proper network troubleshooting workflow — designed to reduce repeat work and make escalation easier.
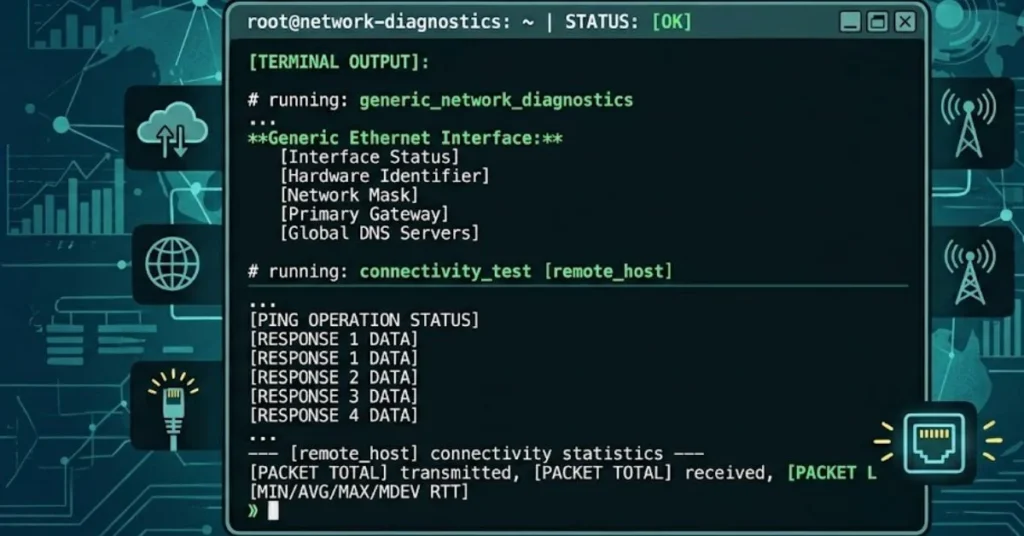
Quick Diagnostic Commands to Run After Step One
Once the problem is defined, these commands do the heavy lifting:
ipconfig /all— shows full IP configuration on Windowsping 8.8.8.8— tests internet reachability bypassing DNSping google.com— tests DNS resolutiontracert google.com(Windows) /traceroute google.com(Linux/Mac) — shows where packets are droppingnslookup google.com— isolates DNS issues specifically
Each of these only tells you something useful after you know what you’re looking for — which is exactly why identifying scope comes first.
What the First Step in Troubleshooting a Network Problem Looks Like in Practice
A real scenario from environments professionals deal with regularly: users on one floor of an office report they can’t access internal file servers, but their internet works fine. Random cable-swapping would waste 45 minutes. Knowing the first step in troubleshooting a network problem means immediately asking — which floor, which users, which servers, since when, what changed? The answer often points directly to a misconfigured VLAN on a switch that was updated the night before. Problem solved in under ten minutes because the scope was defined before the hands started moving.
FAQs
Q: What is the very first step in troubleshooting a network problem?
The first step is always identifying and defining the problem — documenting symptoms, determining how many devices or users are affected, and figuring out what changed recently. Everything after this depends on that information.
Q: Should I restart my router before anything else?
Not necessarily. Restarting clears temporary faults but skips diagnosis entirely. If you restart first and the problem goes away, you won’t know what caused it — which means it’ll likely come back. Identifying scope first gives you a real answer.
Q: How do I check if a network problem is on my end or the ISP’s end?
Ping your router’s default gateway first. If that succeeds but internet access fails, the issue is likely with your ISP. If pinging the gateway fails, the problem is local — inside your own network.
Q: What command shows me my IP address and network settings?
On Windows, run ipconfig /all in Command Prompt. On Linux or Mac, run ifconfig or ip addr. These commands show whether your device received a valid IP address from the DHCP server.
Q: What does a 169.x.x.x IP address mean?
It means your device didn’t receive an IP address from the DHCP server and auto-assigned one instead. This almost always indicates a DHCP server issue or a problem with the connection between your device and the router/switch.
